

Drawing a Triangle with WebGPU
WebGPU is the future of rendering in the browser. Let’s draw a triangle with it.


WebGPU is part of the new generation of rendering, created for the web.
If you’re experienced in other graphics APIs such as Vulkan, you’ll probably find that WebGPU isn’t so so different. However, if you come from a WebGL background, you’ll need to wrap your head around the non-state-machine-esque behavior of WebGPU… and if you’re completely new to 3D rendering inside the browser, welcome!
I propose that we create a triangle to introduce ourselves to the WebGPU API.
The Goal
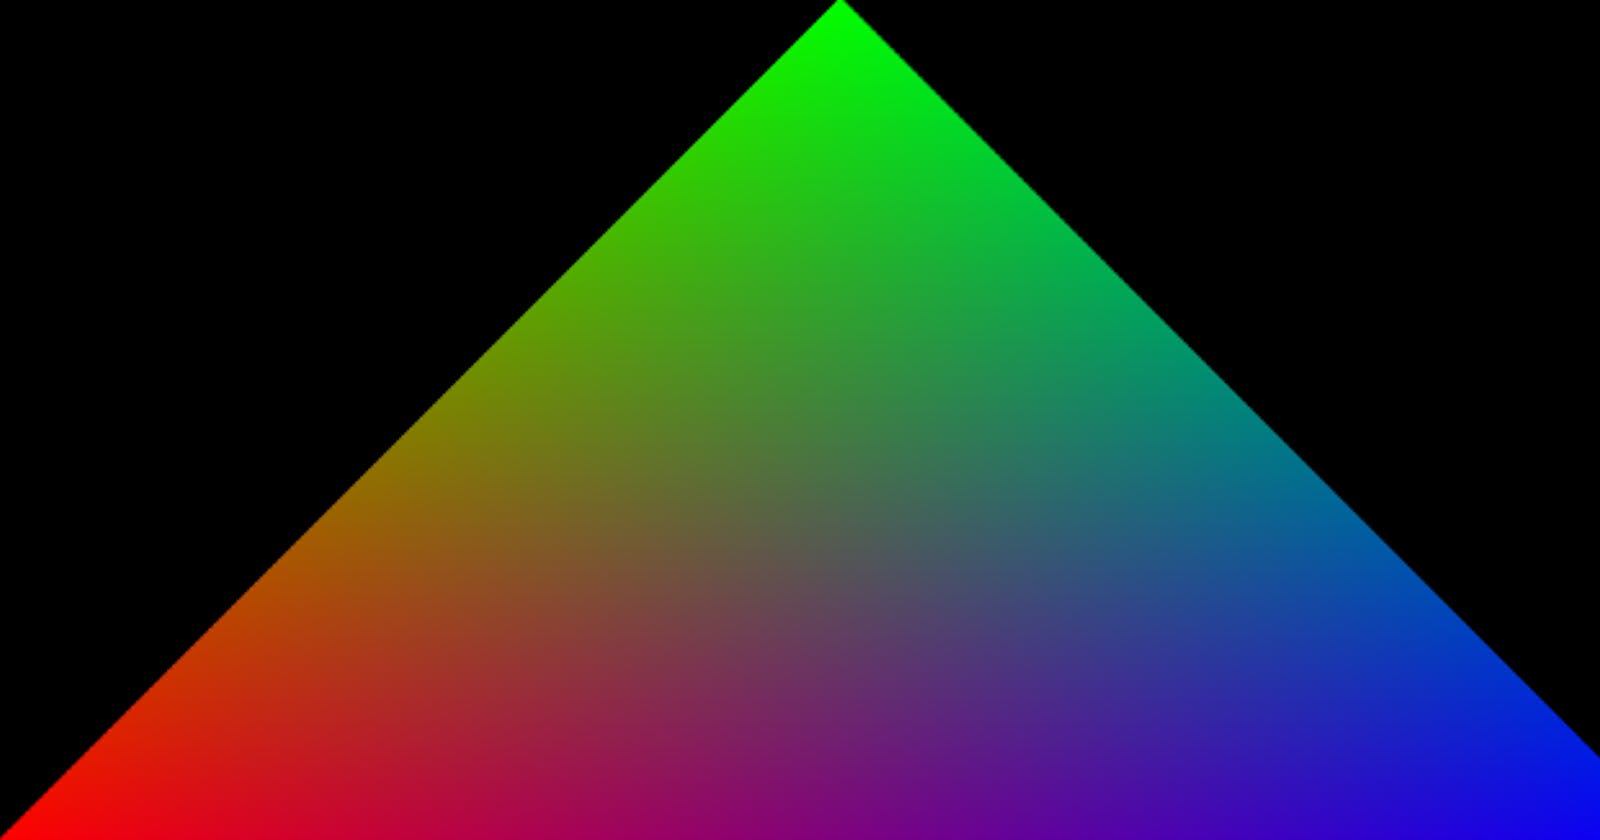
We want to draw this bad boy in a browser that supports WebGPU rendering.

The awesome triangle that we would like to draw.
The Code
Here’s the code for those that just want to copy and paste, I’ll be walking through it and providing descriptions of each section later down this post.
⚠️ To run the code, you must use a browser with the WebGPU flag enabled as it is still not enabled by default (it’s that brand-spanking new!). See this resource for more information.
Adapter and Device
We first start by ensuring the availability of WebGPU in our browser in the first few lines of the script. If it is available, we then initialize WebGPU’s adapter and device, and the HTML Canvas.
What is an adapter and a device?
- Adapter is like VkPhysicalDevice (if you are experienced in Vulkan). WebGPU allows us to get a list of all the GPUs in our computer. You can also pass an argument to the function to select a GPU of a certain type. For example, you may want to select from multiple GPUs in your system, like a low-power GPU for battery-powered use and a high-powered GPU for plugged-in use.
- Device is like VkDevice. This is the GPU driver on the hardware graphics card and our method of communicating with it. I think of it as the API of the graphics card.
Swap Chain
After creating the Canvas context, we configure it.
These lines may look weird and abstract… we are setting up the swap chain and the Canvas context at the same time.
⚠️ If you read a WebGPU tutorial from the past, you might see the use of a deprecated method where you explicitly set up the swap chain.
What is a swap chain? The main role of the swap chain is to synchronize the presentation of our generated images with our screen refresh rate. It is a queue that contains images waiting to be displayed.
Vertices
We have to pack our array of vertices into a single giant array buffer. Each vertex consists of six floats in this case (three to represent position, and three to represent color). If we want to include other attributes, we must add more floats to each vertex.
After defining our vertices, we create the vertexBuffer which is the buffer that will live in the GPU. We are responsible for filling it at this point. The act of “mapping” a buffer is important to its operation.
- A mapped buffer means that the CPU can write to it and the GPU cannot.
- Conversely, if the buffer is unmapped, the GPU will be able to read it, and the CPU will be prohibited.
This is why we designate mappedAtCreation as true during the creation stage. We can then invoke .set to copy our vertices into the buffer. Finally, we remove the CPU’s write access, and grant GPU read access, by calling vertexBuffer.unmap().
The vertexBuffersDescriptors are instructions telling the GPU how to decode the buffer. In our case, we use 32 bytes to describe all attributes of a vertex. In our shaders, the GPU will be able to find the position vector at offset 0, and the color vector at offset 16.
The Vertex and Fragment Shader
These shaders are simple. We define them using WGSL, which is like Rust. There are no surprises in this code, and I invite you to review shader code tutorials in order to follow this bit of code.
The Rendering Pipeline
Finally, we define the rendering pipeline which is just a simple, and sort’ve boilerplate-y configuration. We combine our shaders and vertex attributes while defining the type of primitive that will be generated.
The Animation Frame and Command Buffers
We start our animation! Another difference from WebGL is this idea of a command buffer. We use a command buffer to pre-record all drawing operations so that WebGPU can process them more efficiently. The advantage is that it will reduce the bandwidth between CPU and GPU (and therefore performance will improve) and we can fill this buffer in parallel using multiple threads if we choose to do so.
The commandEncoder is responsible for receiving our render commands. To create a command buffer that can be submitted to the GPU, we call .finish on the encoder. The received command buffer is passed to the device to be executed, then our triangle will be rendered!
Finally, the image of our triangle will be written to the swap chain, then displayed on the canvas!
What you should see!